


Materials:
- Glass rods in various colors
- Torch or flame-working setup
- Marvering tools (graphite paddles or metal plates)
- Tweezers or other shaping tools
- Kiln or annealing oven
- Safety glasses
- Heat-resistant gloves
Steps:
- Set up your workspace: Ensure proper ventilation and a clean, organized area to work in.
- Choose your glass rods: Select glass rods in the colors you want for your marble. You can experiment with different combinations to create unique patterns.
- Heat the glass: Using a torch or flame-working setup, heat the end of a glass rod until it becomes molten and gathers on the tip of the rod.
- Shape the core: Shape the molten glass into a small spherical core by rolling it on a marvering tool or between two marvering plates. Keep rotating the glass to maintain a round shape.
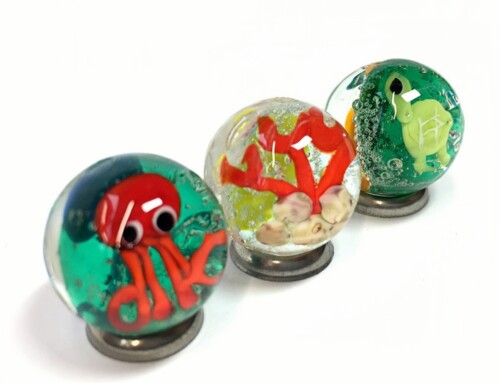
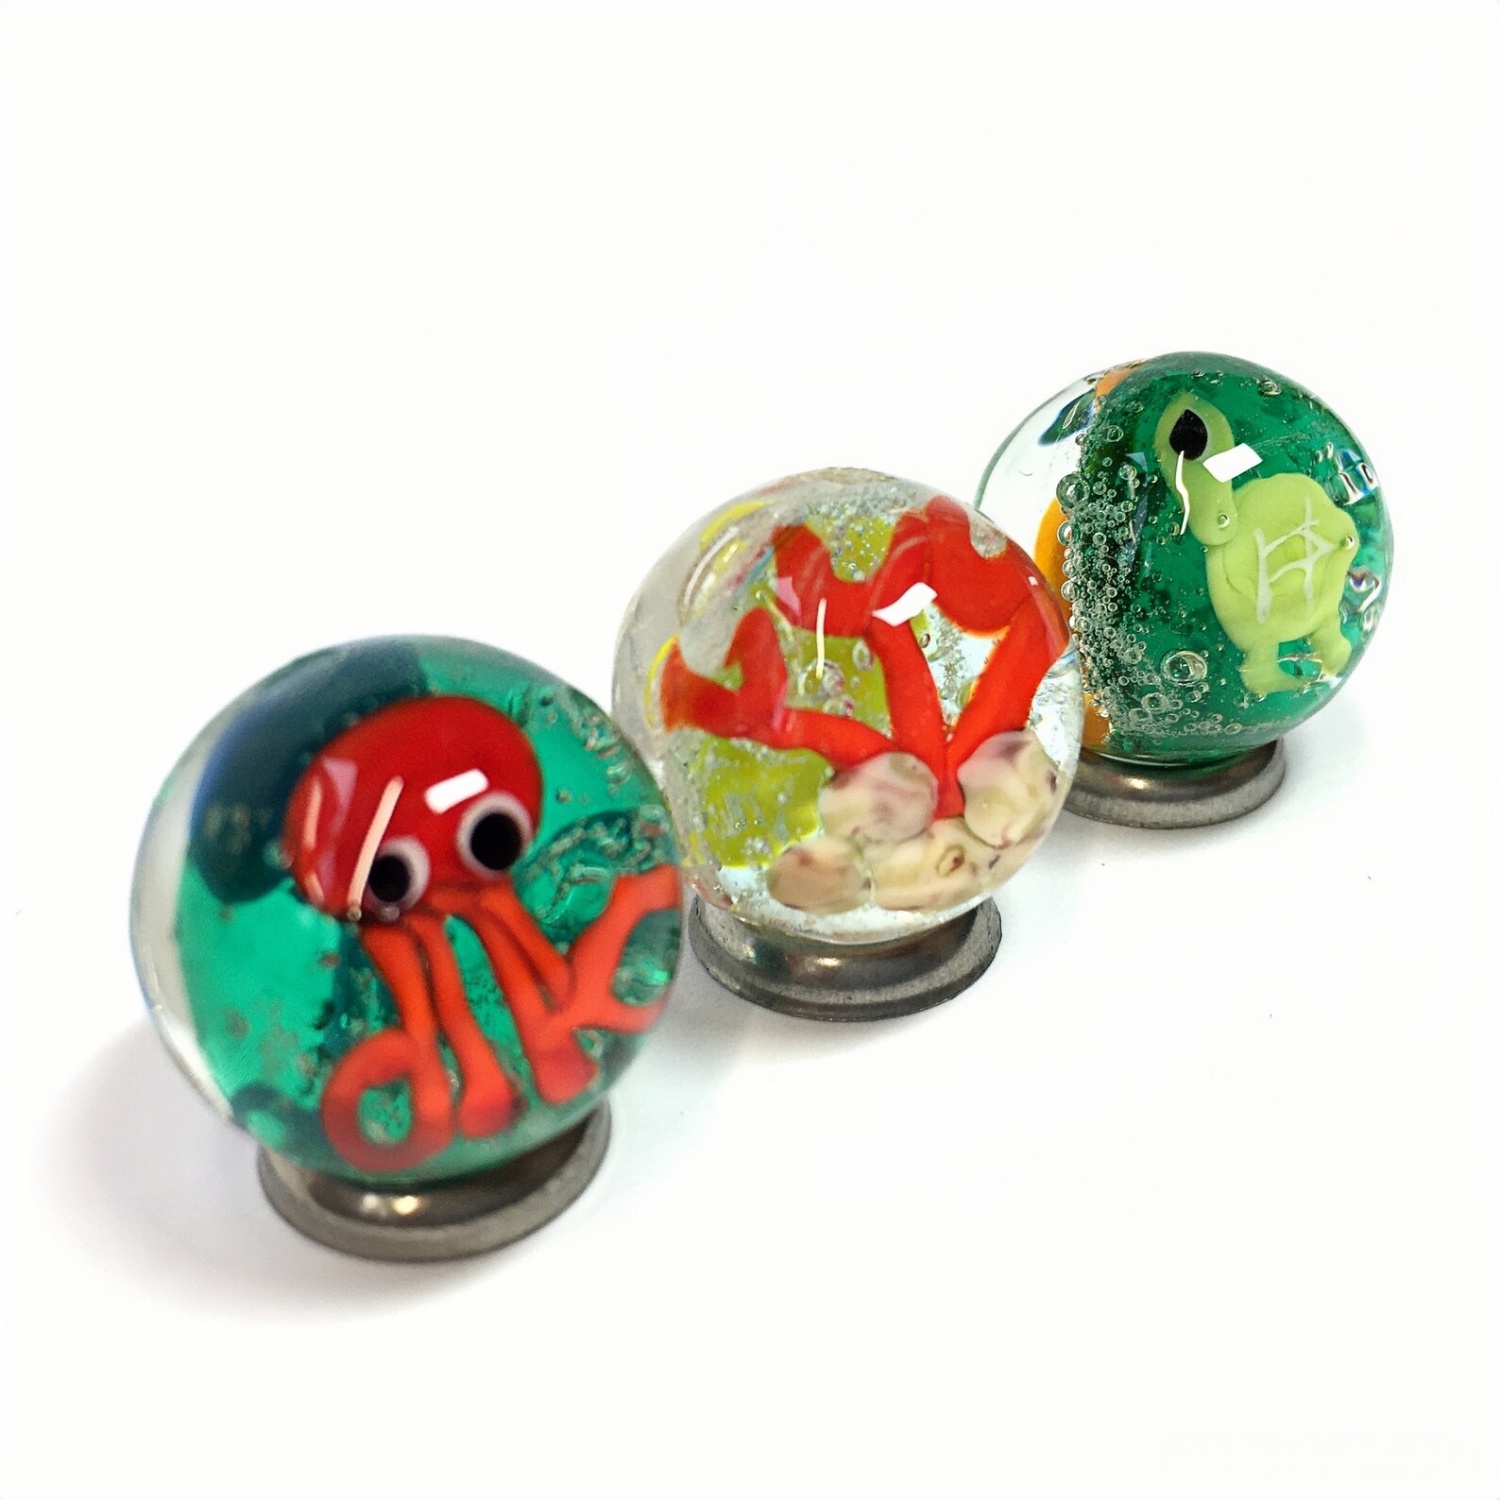
- Add color and patterns: Use additional molten glass rods to add colors, patterns, or designs to the core. Apply them by melting the ends of the rods and attaching them to the core, then shaping and manipulating them with tweezers or other tools.
- Continue layering and shaping: Repeat the process of adding glass rods, melting them onto the core, and shaping them until you achieve the desired design and size for your marble.
- Anneal the marble: Once the marble is complete, carefully transfer it to a kiln or annealing oven to slowly cool and relieve internal stress. Follow the manufacturer’s instructions for proper annealing.
- Inspect and polish: After the marble has cooled, inspect it for any imperfections. If desired, you can polish the surface using a polishing wheel or abrasive compounds.
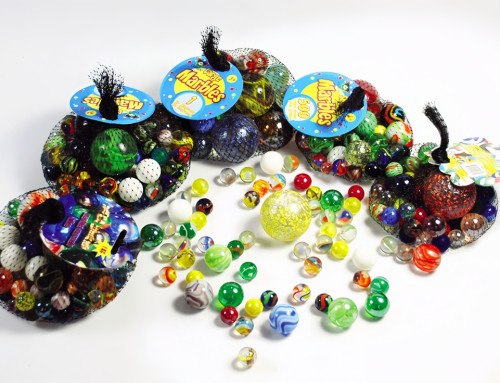
- Enjoy and share: Your handmade glass marble is now ready! Admire its beauty, use it for play or decoration, or share it with others.
Please note that glass marble making involves working with high temperatures and requires proper safety precautions. It’s recommended to learn from experienced glass artists or attend glassblowing classes before attempting it yourself.


